|
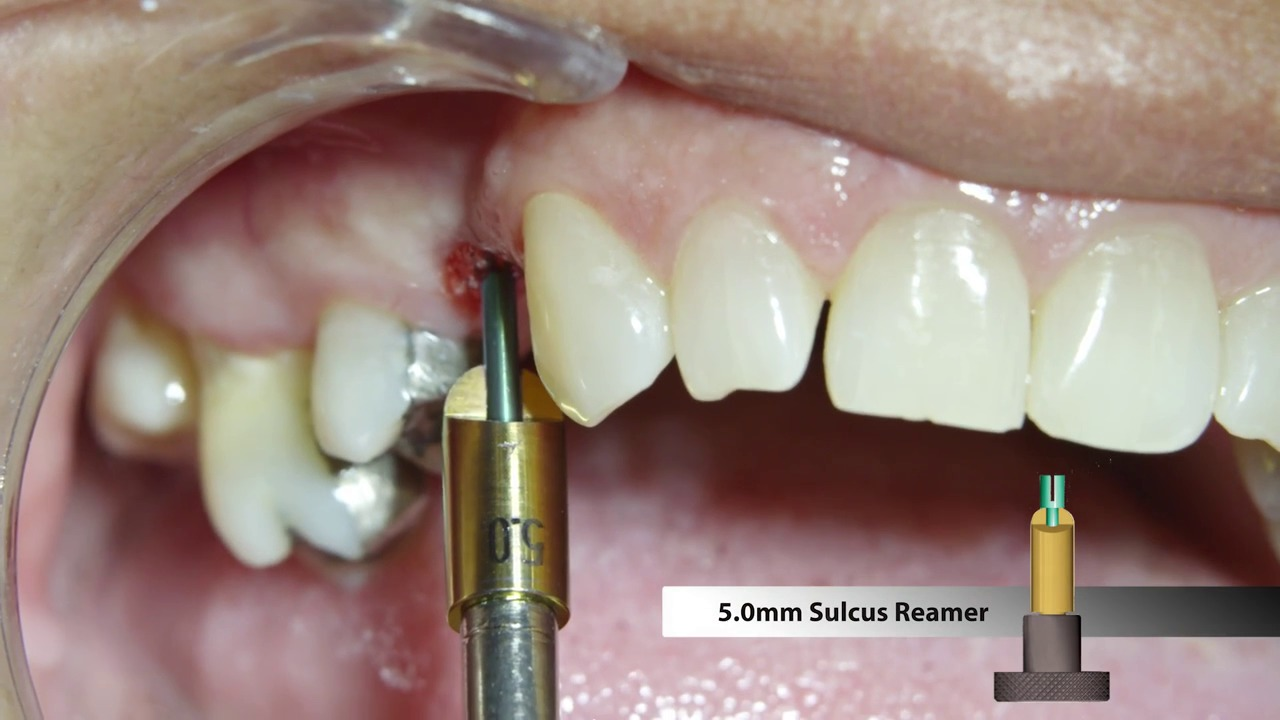
Sulcus Reaming Technique
The color-coded sulcus reamers are essential components of Bicon’s instrumentation. This video will demonstrate the sulcus reaming technique being used to successfully seat a maxillary bicuspid Integrated Abutment Crown™ into the well of a Bicon SHORT™ Implant. |
|---|---|
|
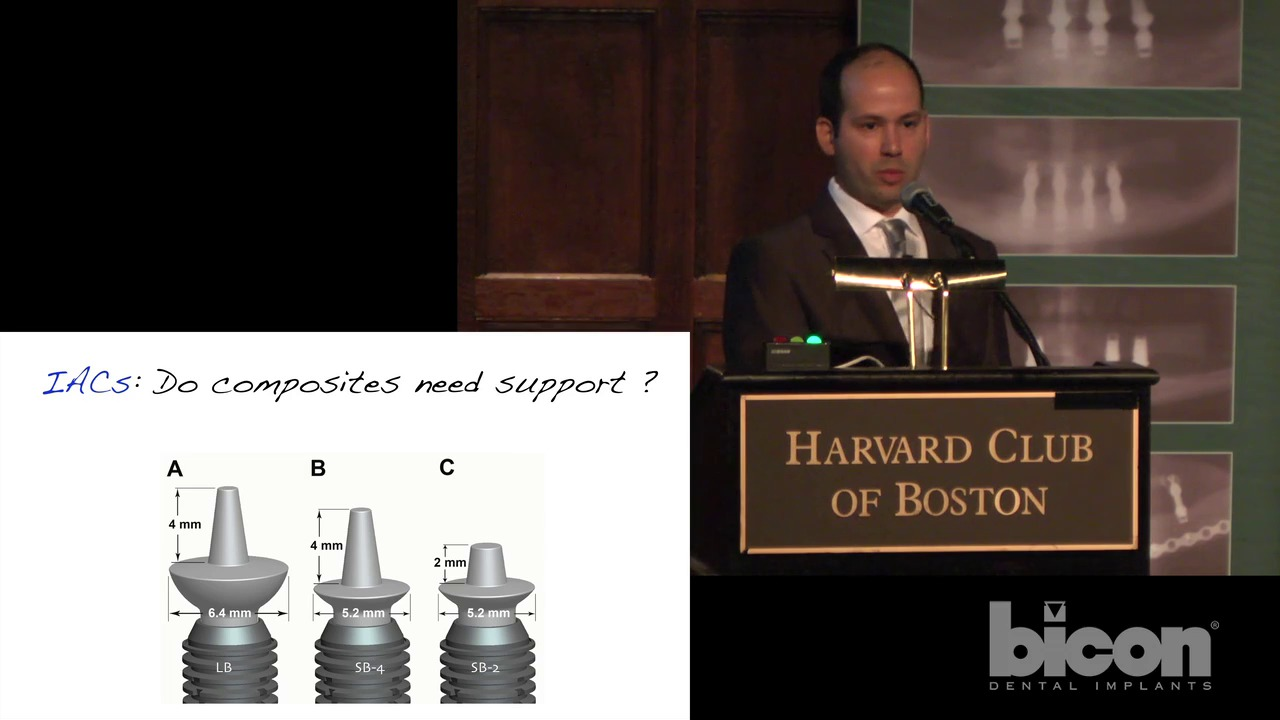
Comparative Properties of Dental Restorations
In this presentation, Dr. Bonfante will demonstrate his analysis of various restorative materials and their survival factors under in-function experimentation. Estevam Bonfante, DDS, MS, Ph.D. |
|
The History of The Bicon Design
The Bicon System has its origins dating back to 1968. Initial research was conducted at Battelle Memorial Institute in Columbus, Ohio by Thomas Driskell. The original implant design of Mr. Driskell used high density aluminum oxide as the implant material. In 1981, Driskell introduced an implant named Titanodont which was made from titanium alloy. Then, in 1985, he perfected his titanium implant design by patenting the DB Precision Implant, which is known today as the Bicon Dental Implant System. Whether Driskell knew it or not at the time he developed this implant system, his design coupled with the clinical support of Bicon has come to revolutionize implant dentistry by offering the innovations of SHORT® Implants, Integrated Abutment Crowns™, SynthoGraft™, and TRINIA™ and more. |
|
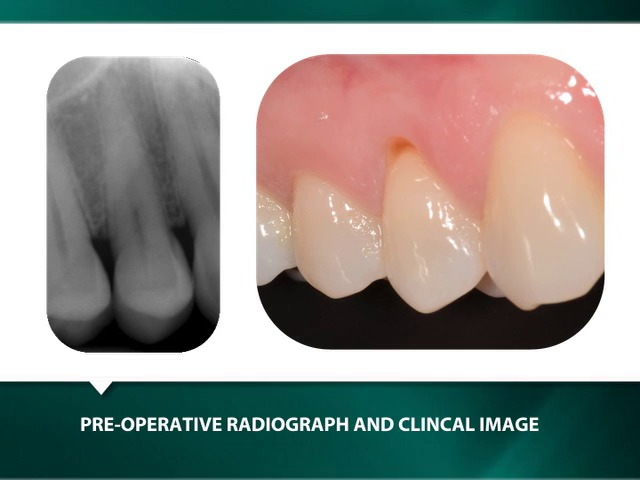
Placement of a Bicon SHORT® Implant using an Immediate Stabilization and Function Technique and Restoration with an IAC®
This video demonstrates the placement of a 4.5 x 8.0mm Bicon Integra-CP™ Implant using an Immediate Stabilization and Function Technique and the subsequent restoration with an Integrated Abutment Crown™. |
|
Internal Sinus Lift using SynthoGraft™ and Restoration with a CAD/CAM IAC®
This video demonstrates the simultaneous bone grafting of a large buccal defect and placement of a 5.0 x 6.0mm Bicon Integra-CP™ Implant with an internal sinus lift procedure using SynthoGraft™ and a sinus lift abutment, as well as the implant’s restoration with a CAD/CAM fabricated Integrated Abutment Crown™ in only three clinical visits. |
|
Comparative Testing and Evaluation of Metal Ceramics, Zirconia, Modified Zirconia, E.max and Composite Materials
In this presentation, Estevam Bonfante, DDS, MS, PhD, discusses relavent topics that will help you choose an appropriate restorative material for your implant-supported restorations. |
Placement and Restoration of a Bicon MAX 2.5™ Implant
This video depicts the placement of a 4.5 x 8.0mm Bicon MAX 2.5™ Implant in the area of the maxillary right central incisor using a Two Stage Surgical Technique and the subsequent restoration with an Integrated Abutment Crown™. |
|
Placement and Restoration of a Bicon SHORT® Implant
This video depicts the placement of a 5.0 x 6.0mm Bicon SHORT® Implant in the area of the mandibular left second molar using a Two Stage Surgical Technique and the subsequent restoration with an Integrated Abutment Crown™. |
|
Bicon Restorative Techniques
The Bicon Restorative Techniques Video is intended to provide clinicians and their staff with detailed descriptions, explanations, and demonstrations depicting numerous restorative procedures of the Bicon Dental Implant System. |
|
Extraction and Placement of Three Bicon SHORT® Implants, Uncovering of Three Bicon SHORT® Implants, and the Insertion of Seven Integrated Abutment Crowns™
On November 9, 2010, Bicon presented a webcast featuring a live demonstration by Doctor Shadi Daher and Doctor Vincent Morgan to practitioners around the world. The demonstration included three cases. The first case was the extraction of two carious teeth and the placement of three Bicon Implants. The second case was the uncovering of three Bicon SHORT® Implants. The third case was the insertion of seven Integrated Abutment Crowns™. |